If you’re like me, you’ve probably looked at your snake plant and wondered, “Can I grow more of these without buying new ones?” Well, the answer is yes! Propagating snake plants (also known as Sansevieria) is not only possible, but it’s one of the easiest and most rewarding projects for plant lovers. We’re essentially turning one healthy plant into many, and the best part? It doesn’t require a green thumb to do it right!
There are two primary ways to propagate snake plants: leaf cuttings in soil and division. Leaf cuttings involve slicing off a piece of the plant and replanting it, while division is all about separating the plant’s roots (rhizomes) and planting those separately. In this guide, I’ll walk you through both methods in just five simple steps. Trust me, once you try it, you’ll want to propagate every snake plant in sight!
Materials Needed
Before we dive into the actual process, let’s gather the necessary materials. Here’s what you’ll need to ensure a smooth propagation:
- A healthy snake plant – It’s important to start with a healthy parent plant.
- Sharp knife or scissors – You’ll need a clean, sharp tool to make precise cuts.
- Potting soil (a succulent mix works best) – Snake plants prefer well-draining soil.
- Pot or container with drainage holes – Proper drainage is essential for preventing root rot.
- Water – If you’re opting for water propagation or just keeping the soil slightly moist.
Each of these materials plays a crucial role in the success of your propagation. A sharp tool ensures clean cuts that heal better, well-draining soil prevents rot, and drainage holes allow excess water to escape. Trust me, gathering the right supplies now will save us a lot of headaches later!
Step 1: Choose the Right Time
Timing is everything when it comes to propagating snake plants, and the ideal time to start is in the spring or summer. Why? During these seasons, the plant’s natural growth cycle is in full swing, meaning it’s more likely to develop strong roots and new growth quickly. Warmer temperatures and brighter light conditions encourage the plant to root faster and healthier.
On the flip side, trying to propagate during fall or winter can slow things down. The plant’s growth slows in colder months, and you might find that it takes forever for new roots to develop—or worse, the cutting might not root at all. So, if you’re planning on propagating, aim for that sweet spot in the growing season to give your new plants the best chance of thriving!

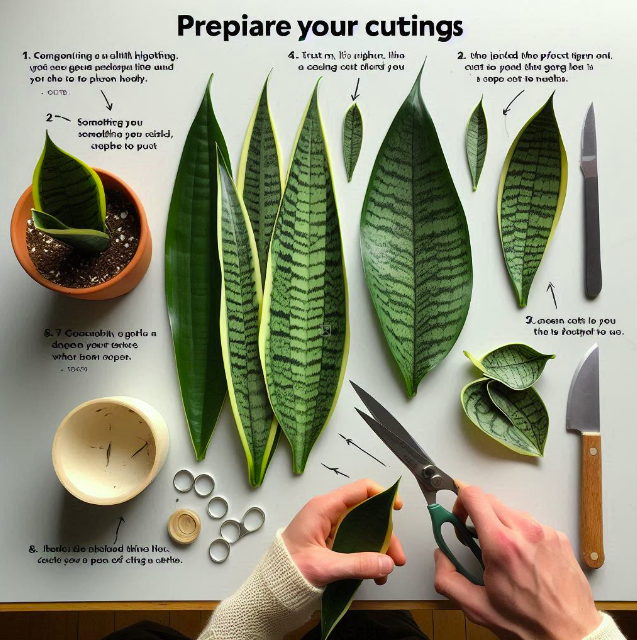
Step 2: Prepare Your Cuttings
Now that we’ve picked the perfect time, it’s time to get our hands a little dirty and start preparing the cuttings. Depending on the method you choose, the steps will vary slightly, but both are super simple.
Leaf Cuttings Method
First, grab a healthy snake plant leaf—something sturdy and green. Using a sharp knife or scissors, cut a section of about 6-8 inches from the leaf. Trust me, it’s crucial to use sharp tools here, as clean cuts help prevent any unnecessary damage to the plant. Once you’ve made your cut, set the leaf aside and let it dry for a few days.
Why do we let it dry? Well, this step allows the cut end to form a callus, which acts like a protective barrier, preventing the leaf from rotting when we eventually plant it in soil. The callus is absolutely essential because snake plants are susceptible to rot if they’re exposed to moisture too soon.
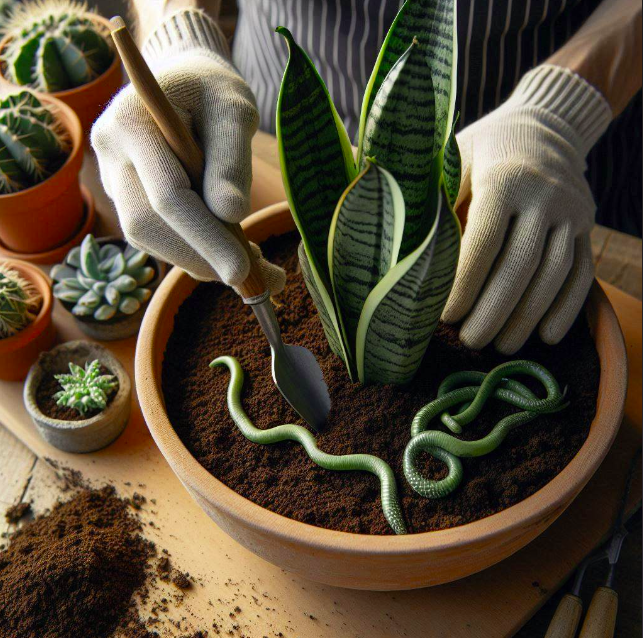
Division Method
If you’re going with the division method, it’s even easier. Start by gently removing the snake plant from its pot—you want to avoid yanking or pulling too hard. Once the plant is free, examine the roots. You’re looking for rhizomes, the underground stems that connect different sections of the plant.
Carefully divide the plant into sections, making sure each section has at least one healthy leaf and a decent portion of the root system. This method tends to be faster and more reliable since each division already has an established root structure, but it does require that you have a mature, well-grown plant.
In terms of ease, the leaf-cutting method is more accessible if you’re working with a smaller plant, but it requires more patience since it takes longer for roots to develop. The division method is quicker, but it’s only an option if you have a large, established snake plant to work with.
Step 3: Prepare the Soil
Once we’ve got our cuttings or divisions ready, it’s time to give them the perfect home in the soil. Snake plants thrive in well-draining soil, which is critical for keeping the roots healthy and happy. I recommend using a cactus or succulent mix, as these are specifically designed to promote good drainage and prevent water from sitting around the roots.
If you prefer a more hands-on approach, you can also make your blend by combining regular potting soil with sand or perlite. This homemade mix will create a lighter, airy texture that lets water drain through easily. No matter which route you choose, proper drainage is key—snake plants are drought-tolerant, and soggy soil can quickly lead to root rot. So, let’s make sure our soil is as light and airy as possible!
Step 4: Plant the Cuttings
Now comes the exciting part—planting! Whether you’re working with leaf cuttings or divisions, the process is simple.
For Leaf Cuttings
Take your dried-out, callused leaf and insert the cut end into the prepared potting mix, burying it about 1-3 inches deep. Make sure the leaf is standing upright and supported by the surrounding soil. Don’t worry if it looks a bit lonely at first; roots will start forming in a few weeks, and soon enough, you’ll have a whole new plant!
For Division
For those of us using the division method, place each separated section into its pot, making sure the roots are well-covered with soil while the leaves remain above the surface. Press the soil gently around the base of the plant to ensure it’s secure, but don’t pack it too tightly—you still want that airflow!

Step 5: Provide Proper Care
Now that our cuttings or divisions are nestled in their new pots, it’s time to focus on giving them the best care to thrive. After all, we want our snake plants to flourish!
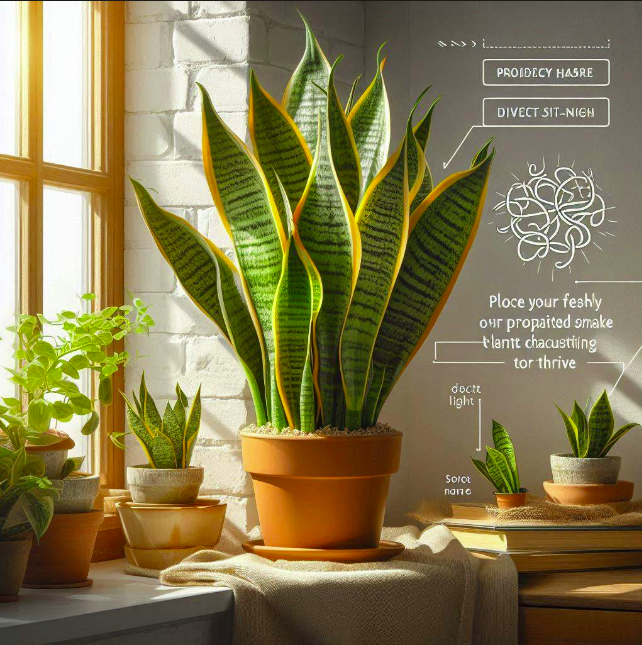
Light Requirements
Place your freshly propagated snake plant cuttings in a spot with bright, indirect light. Direct sunlight can be too harsh and might scorch the leaves, especially when they’re still in the early stages of growth. Somewhere near a window that gets a lot of natural light but isn’t in the direct path of the sun is perfect.
Watering Habits
When it comes to watering, less is definitely more with snake plants! These guys are super drought-tolerant, so it’s important to water sparingly. Wait until the top couple of inches of soil have dried out completely before watering again. Overwatering is one of the biggest causes of rot, and we want to avoid that at all costs. A good rule of thumb is to check the soil once a week. If it’s dry, give it a light watering. If not, hold off for a few more days.
Monitoring for Growth
Patience is key during this stage. Roots typically take about 6-8 weeks to develop for leaf cuttings, so don’t worry if things seem slow at first. You’ll know your snake plant is settling in well when you start to see new shoots sprouting from the soil. For divisions, you might notice growth a bit sooner since they already have a root system in place.
If you’re ever unsure whether the plant is progressing, gently tug on it. If you feel resistance, that means the roots are starting to grow. Just be careful not to pull too hard!
Additional Tips for Successful Propagation
While soil propagation is the most common method, there are a few other options you can try to increase your chances of success!
Water Propagation
Water propagation is a fun and easy alternative, and it’s great if you want to watch the roots grow in real time. Simply place your leaf cuttings in a container of water, ensuring only the bottom part of the leaf is submerged. You’ll need to change the water every week to keep it fresh and prevent bacteria from building up. Once the roots are about 2-3 inches long, transfer the cutting into soil and continue care as usual.
Post-Propagation Care
Once your snake plant has taken root, you can treat it like any other established plant. Continue with the same light and watering routines, but also keep an eye out for any new shoots—this is a good sign that your propagation was successful!
Be on the lookout for potential issues like rot or lack of growth. If you notice any mushy spots on the leaves, it could be a sign of overwatering or rot. In this case, try to let the soil dry out completely, and make sure your pot has proper drainage. If growth seems slow, don’t worry too much; snake plants are known for being a bit sluggish, especially in their early stages. Just give them time and the right conditions, and they’ll come around!
Propagating Snake Plants in 5 Simple Steps
Propagating snake plants is a rewarding and straightforward process that anyone can master. Whether you’re using leaf cuttings or the division method, both approaches allow you to grow new plants with just a few simple steps:
- Choose the Right Time – Spring or summer offers the best conditions for successful propagation.
- Prepare Your Cuttings – Take healthy leaf cuttings or divide the rhizomes for multiple new plants.
- Prepare the Soil – Use well-draining soil, such as a cactus or succulent mix, to give the roots a healthy start.
- Plant the Cuttings – Place the leaf cuttings or divisions in the soil, ensuring they’re positioned correctly.
- Provide Proper Care – Keep your cuttings in bright, indirect light, water sparingly, and monitor for growth over the coming weeks.
FAQs About Propagating Snake Plants
1. How long does it take for snake plant cuttings to root?
Typically, it takes 6-8 weeks for snake plant cuttings to develop roots when propagated in soil. In water, roots may appear in 4-6 weeks, but be patient—snake plants are slow growers!
2. Can I propagate a snake plant in water?
Yes, water propagation is a popular method! Simply place the cut end of a leaf cutting in a jar of water, making sure the bottom part is submerged. Change the water weekly, and once roots have formed, you can transfer the cutting to the soil.
3. Why is my propagated cutting not growing?
It may take time for growth to appear, as snake plants are naturally slow to develop. Make sure you’re using well-draining soil, watering sparingly, and providing bright, indirect light. If the cutting looks healthy, it just needs more time!
4. What do I do if my cutting is rotting?
Rot can occur if the cutting hasn’t properly callused or if the soil remains too wet. To prevent this, allow the leaf cuttings to dry for a few days before planting, and ensure you’re not overwatering. If rot starts, remove the affected area and let the cutting dry again before replanting.
5. Can I propagate snake plants year-round?
The best time to propagate snake plants is during spring and summer when growth is most active. While it’s possible to propagate in other seasons, the process will be much slower, and success rates may decrease due to cooler temperatures and less sunlight.


1 thought on “How to Propagate Snake Plant in 5 Steps”