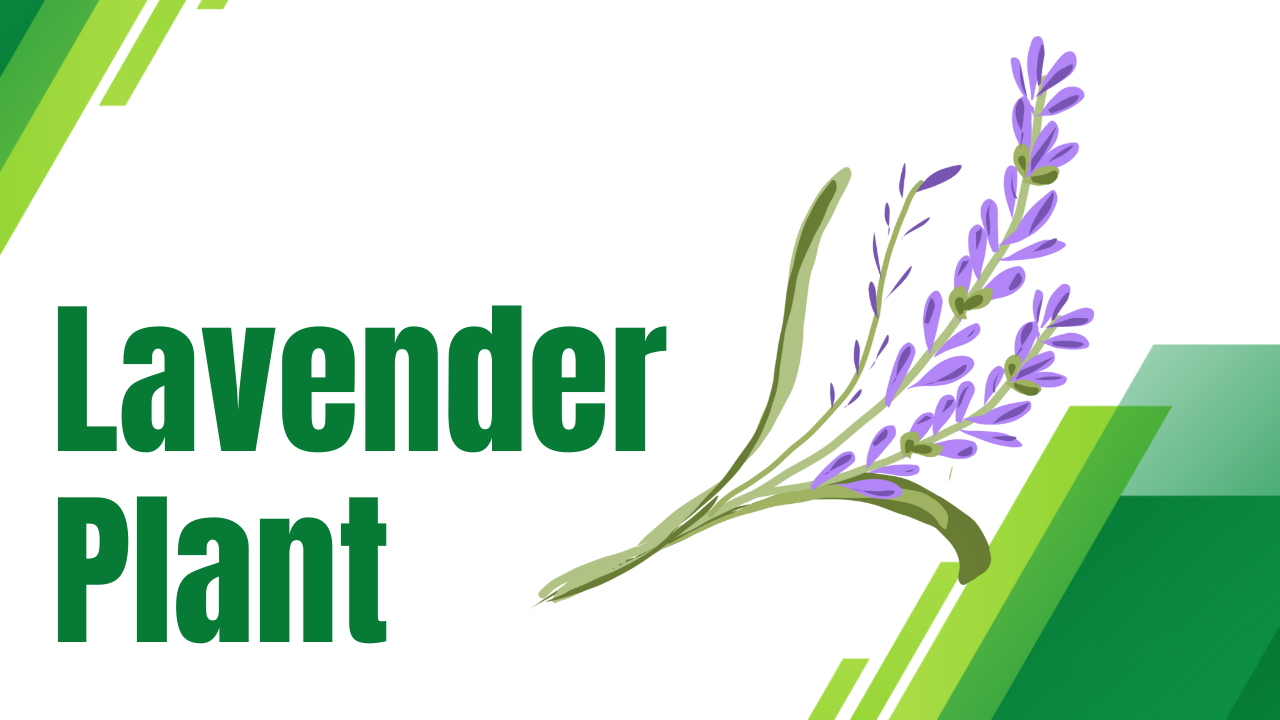
If you’re like me and love having the fresh scent and beauty of lavender indoors, you might have realized that keeping it alive indoors isn’t always easy. Lavender has some specific care needs, and understanding these can make all the difference between a thriving plant and one that struggles. In this guide, we’ll walk through the essentials—light, water, soil, temperature, and maintenance—so you can keep your lavender looking vibrant and healthy all year round. Let’s dive in and make sure your lavender not only survives but flourishes indoors.
1. Light Requirements
Lavender loves sunlight. It needs 6 to 8 hours of direct sunlight every day to stay happy. If you’ve got a sunny, south-facing windowsill, that’s perfect! That’s where I keep my lavender to make sure it gets plenty of light. But, not all of us have that perfect spot in our homes. If your lavender isn’t getting enough natural sunlight, it might start looking leggy or weak. No need to worry—you can always use grow lights to give it the light it craves. Think of these as a backup plan for those cloudy days or darker spaces in your home.

2. Watering Practices
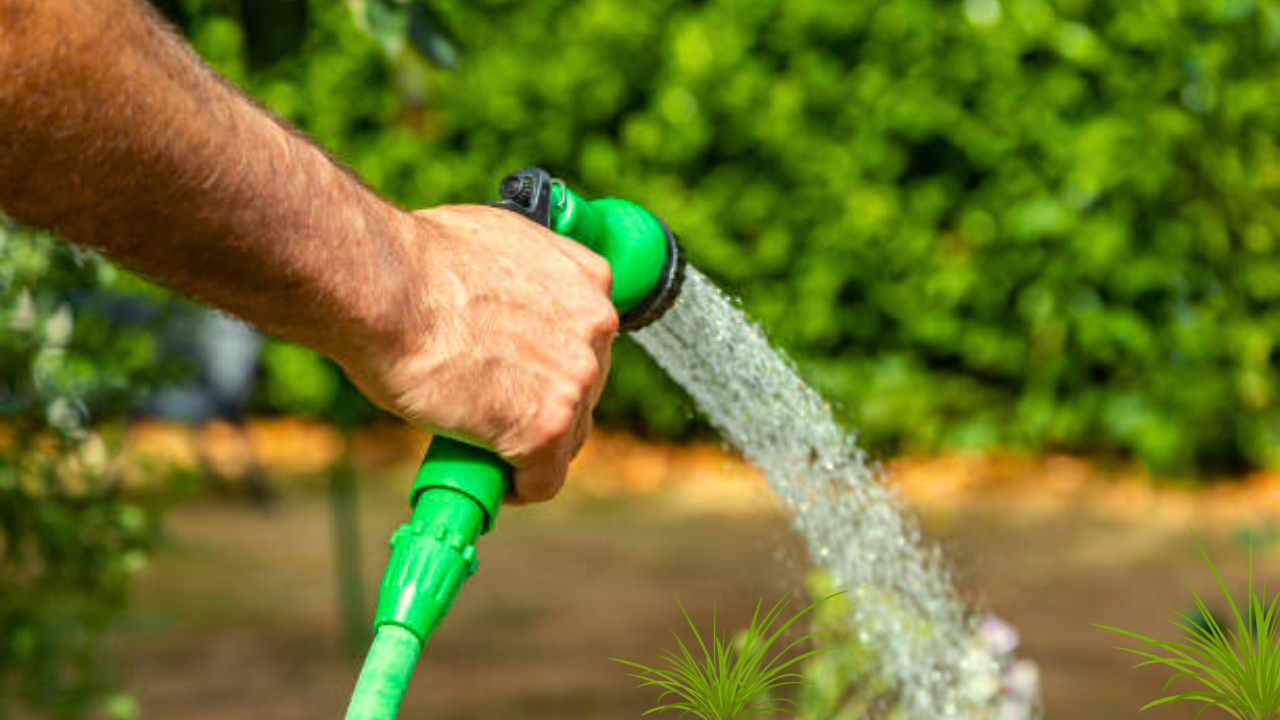
Lavender isn’t the type of plant that likes to be pampered with water. In fact, it prefers things on the drier side. Overwatering is one of the quickest ways to accidentally harm your plant. I’ve found that the best rule of thumb is to check the soil with your finger—if the top inch is dry, it’s time to water. This usually works out to about once every one to two weeks, but keep an eye on it because it may need even less in the cooler months.
Make sure your pot has good drainage—lavender hates sitting in soggy soil. This is especially important in the winter when you should water even less frequently. If the roots stay too wet, your lavender can develop root rot, which is tough to come back from.
Watering Tips
- Always use pots with drainage holes.
- Water less in winter, when growth slows down.
- Make sure your lavender isn’t sitting in water by emptying saucers after watering.
3. Soil Conditions
Lavender is pretty particular about its soil—it needs something that drains really well and is slightly alkaline. Regular potting soil can be too heavy, so I like to mix mine with a little bit of sand or perlite to improve drainage. A soil mix designed for cacti or succulents also works really well for lavender because it mimics the well-drained, sandy soil it’s used to in its natural environment. Getting the soil right is one of the key things to keeping lavender happy indoors, and it’s a small change that can make a big difference.
4. Temperature and Humidity
Lavender prefers temperatures between 60°F and 80°F (15°C to 27°C), which is comfortable for most indoor spaces. However, what lavender really can’t stand is high humidity. I’ve noticed that if my lavender is placed in a humid area, like the kitchen or bathroom, it tends to struggle. Good air circulation is important, so make sure there’s enough space around the plant for air to flow freely.
Humidity Management:
- Keep your lavender out of humid rooms like the bathroom.
- If you live in a particularly humid area, a dehumidifier can help keep the air around your plant dry and comfortable.
5. Fertilization
Lavender is a low-maintenance plant when it comes to fertilization—it actually prefers nutrient-poor soils. So, if you’re thinking of feeding your lavender, remember that less is more. During the growing season (spring and summer), you can give it a little boost by using a diluted, water-soluble fertilizer. I typically dilute mine to half the recommended strength and only feed the plant every 4 to 6 weeks. Be cautious not to over-fertilize because too many nutrients can actually lead to fewer blooms and leggier growth. Lavender thrives on simplicity, so don’t feel like you need to fertilize it too often.
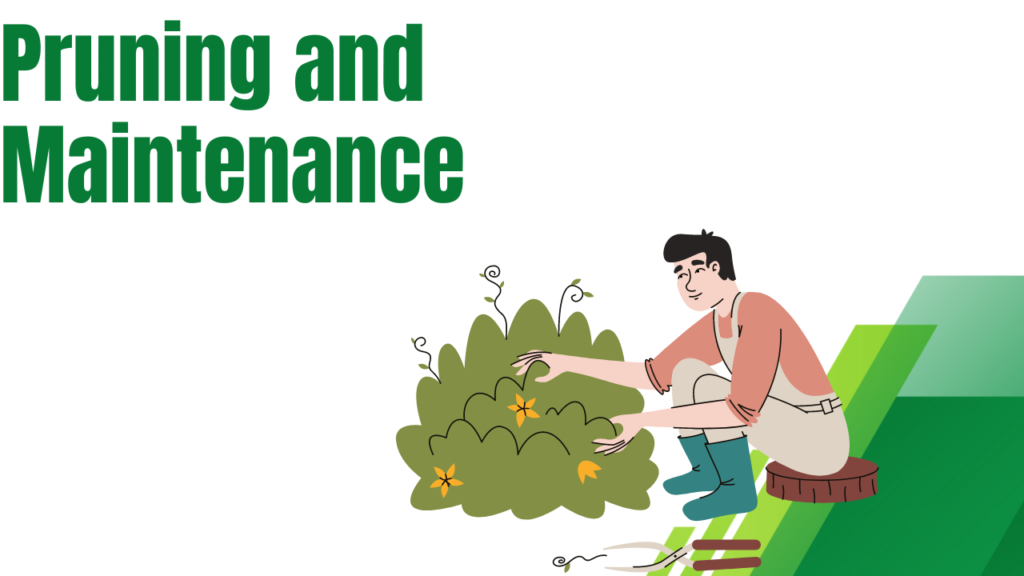
6. Pruning and Maintenance
Regular pruning is key if you want a bushy, full lavender plant that produces lots of fragrant blooms. I usually prune my lavender right after the flowering season, trimming back about one-third of the plant. This not only keeps the plant looking neat and tidy but also encourages new growth for the next season. Don’t be afraid to prune—it’s good for your lavender’s overall health. Just make sure you’re not cutting into the old, woody stems; lavender won’t grow back from those areas.
Routine Checks:
- Pests and diseases: Keep an eye out for common pests like aphids or spider mites. If you see any, treat the plant promptly with insecticidal soap.
- Dead or yellowing leaves: Remove these as soon as you notice them to keep the plant looking fresh and healthy.
- Airflow: Ensure there’s good airflow around the plant to prevent mold or fungal issues.
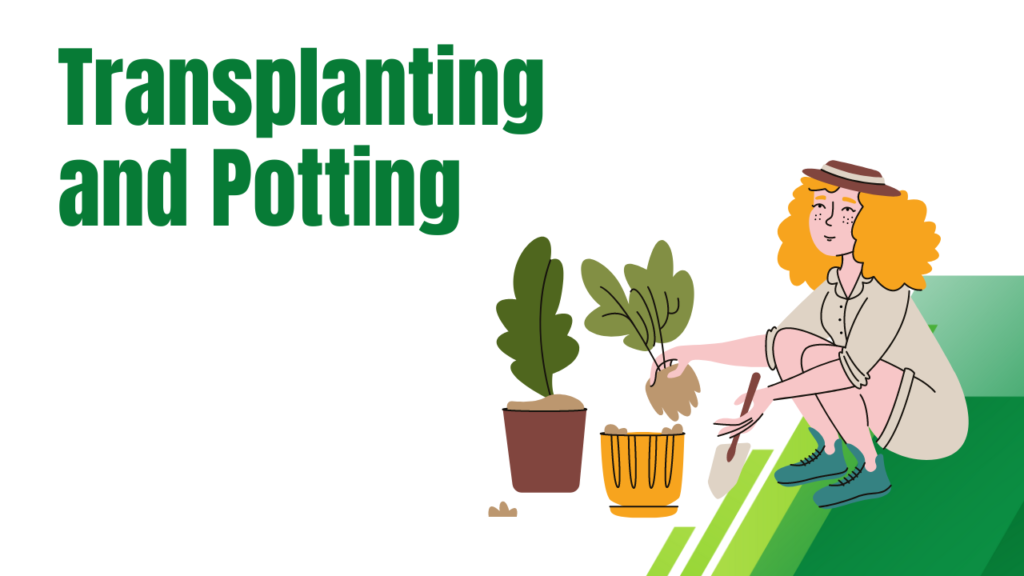
7. Transplanting and Potting
As your lavender grows, it might outgrow its current pot. A good rule of thumb is to repot when the roots start to fill the pot or grow out of the drainage holes. I usually repot mine every 1 to 2 years. When you’re ready to transplant, choose a pot that’s only slightly larger than the current one—lavender prefers being a bit root-bound. Use fresh, well-draining soil to give the plant a nutrient refresh, and make sure the new pot has drainage holes. This keeps the roots happy and healthy and improves overall growth.
8. Winter Care
Lavender can be a bit more delicate during the winter months, especially if you live in a colder climate. To help your plant thrive during this time, keep it away from cold drafts and avoid placing it near windows or doors that get chilly. Lavender doesn’t like extreme temperature changes, so try to keep the indoor environment consistent. You may need to water even less in winter, as lavender’s growth slows down in the colder months. If the air in your home becomes too dry due to heating, just make sure your lavender still has decent airflow to prevent any moisture buildup, which can lead to mold.

FAQs Section
1. How often should I water my indoor lavender plant?
Lavender likes to be on the dry side. Water your plant when the top inch of soil feels dry, which is typically every one to two weeks. During the winter months, you can water even less frequently, as the plant’s growth slows down.
2. Can I grow lavender indoors without direct sunlight?
Lavender thrives on 6 to 8 hours of direct sunlight, so if you can’t provide enough natural light, consider using grow lights to supplement. A south-facing windowsill is the best spot for maximum light exposure.
3. Why is my lavender plant turning yellow?
Yellowing leaves can be a sign of overwatering or poor drainage. Make sure your pot has drainage holes, and use a well-draining soil mix. Allow the soil to dry out between waterings to prevent root rot.
4. How do I know when it’s time to repot my lavender?
It’s time to repot when the roots start to grow out of the drainage holes or fill the current pot. Lavender prefers a snug fit, so choose a pot that’s just slightly larger than the current one.
5. Should I fertilize my lavender plant?
Lavender doesn’t require much fertilization, but if you do choose to fertilize, use a diluted, water-soluble fertilizer during the growing season (spring and summer). Be careful not to over-fertilize, as too much can lead to fewer blooms.
Final Thoughts
Growing lavender indoors can be incredibly rewarding, filling your home with its fragrant aroma and beautiful blooms. While it may seem tricky at first, once you understand its specific needs—such as plenty of light, well-draining soil, and careful watering—you’ll find that lavender is actually quite low-maintenance. Regular pruning, proper potting, and attention to temperature and humidity will keep your plant happy and healthy all year round. With the right care, your indoor lavender will thrive and bring a little piece of nature into your home!
